Table of Contents
- Why Homeowners Choose Basement Finishing for Extra Living Space
- Understanding Your Basement's Potential and Limitations
- Essential Elements of Multifunctional Basement Design
- Creating Distinct Zones Without Closing Off Your Space
- Lighting and Moisture Control in Finished Basements
- Selecting Materials and Finishes for Durability and Style
- Incorporating Mechanical Systems and Building Code Compliance
- Budget Planning and Cost Factors for Basement Projects
- How Our Design-Build Process Ensures Your Vision Comes to Life
- Timeline and Project Management for Basement Finishing
- Transforming Your Annandale Home with a Finished Basement
- Frequently Asked Questions (FAQ)
Why Homeowners Choose Basement Finishing for Extra Living Space
A finished basement transforms unused square footage into valuable living space, and in Annandale, Northern Virginia, where homes sit on limited lots, that expansion matters. Homeowners often overlook their basements until they realize just how much potential sits beneath their feet. Whether you’re planning a media room, home office, guest suite, or fitness area, a well-designed basement can add comfort, functionality, and significant home value. This guide walks you through every phase of basement finishing, from initial planning through final touches, so you understand what’s involved and how to make smart decisions for your home.
Adding square footage above ground means expensive foundation work, roof extensions, and complex structural modifications. A finished basement sidesteps those challenges. Instead, you’re working with existing walls and a solid foundation, making basement finishing one of the most cost-effective ways to expand your home.
Families growing in place often choose basements to avoid moving. That extra bedroom for aging parents, a playroom for young children, or a private office for remote work keeps you in your Annandale neighborhood where your roots run deep. The space also increases your home’s appeal to future buyers, since finished basements consistently rank high on buyer wishlists.
Beyond pure square footage, a basement offers privacy and separation. A finished lower level can become a retreat for teenagers, a soundproofed music studio, or a guest wing that doesn’t intrude on your main living areas. The versatility is remarkable.
What to do next: Think about how your family actually uses your home. Where do friction points exist? A basement can solve those without relocating.
Understanding Your Basement’s Potential and Limitations
Not every basement is created equal, and understanding yours sets realistic expectations before design work begins.
Ceiling height is the first consideration. Most finished basements work best with 7 to 7.5 feet of clearance after accounting for mechanicals and finished ceiling systems. Lower clearances (6.5 feet) feel cramped in living spaces but work for storage or utility areas. Measure your joists and calculate what headroom you’ll actually have.
Moisture is the second critical factor. A dry basement is non-negotiable for a finished space. If water seeps through walls during heavy rains or your sump pump runs constantly, those problems must be solved before any drywall goes up. We often recommend a site assessment to identify moisture sources, whether that’s poor grading, undersized gutters, or foundational cracks.
Natural light availability shapes room placement. Basement windows are smaller and positioned higher on walls, but they bring in daylight and meet egress codes for bedrooms. Spaces without windows work perfectly for media rooms, wine cellars, or storage, but living areas benefit from at least one window location.
Basement shape and column placement influence layout flow. A rectangular basement is more flexible than one divided by structural columns, which become design features rather than obstacles. During your planning phase, we’ll work with your space as it actually exists, not as you wish it were.
What to do next: Walk your basement with a tape measure and flashlight. Note ceiling height, window locations, potential water issues, and any support columns. This groundwork informs better design conversations.
Essential Elements of Multifunctional Basement Design
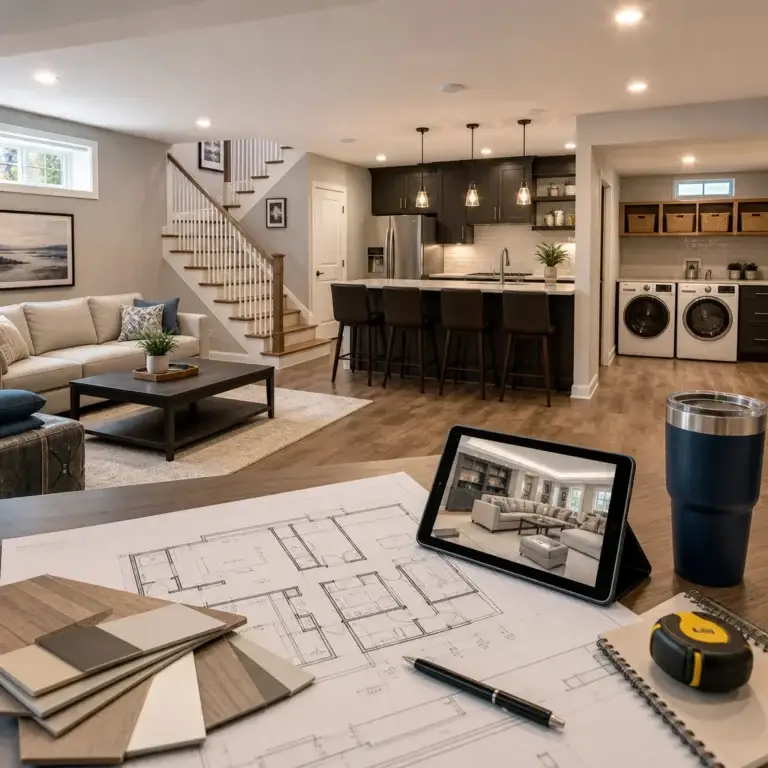
A multifunctional basement serves several purposes without feeling fragmented or chaotic. The key is intentional zoning and material choices that support multiple activities.
Start with a primary function. Is this primarily a recreation space with secondary guest sleeping? A home office with a fitness corner? An entertainment area that doubles as a craft studio? Leading with a clear primary purpose ensures your design investments serve what matters most.
Then layer in secondary uses. A guest bedroom benefits from a small sitting area. A media room can include a wet bar for entertaining. An office can have a yoga corner. These overlaps maximize utility without sprawling the space.
Storage becomes critical in a multifunctional basement. Built-in shelving, cabinetry, and closet systems keep clutter contained and preserve sightlines. Without proper storage, a multifunctional space quickly feels crowded.
Flooring choice sets the tone for durability and flexibility. Polished concrete suits a casual, modern aesthetic and handles spills easily. Luxury vinyl planks mimic wood warmth while resisting moisture. Carpet works in media or exercise zones but requires moisture barriers underneath.
What to do next: List three uses you imagine for your basement in order of priority. Sketch which areas would serve each function. That clarity guides every design decision that follows.
Creating Distinct Zones Without Closing Off Your Space
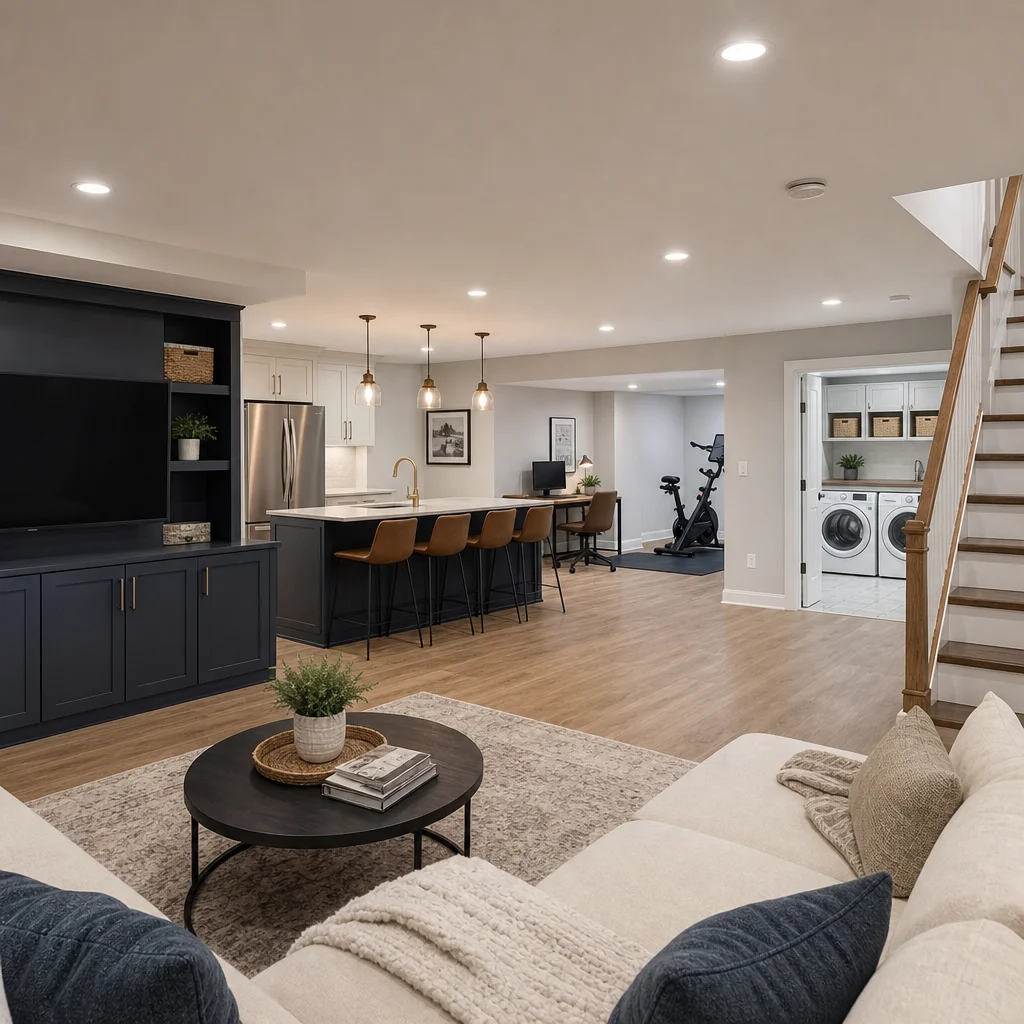
Open basements feel larger and more flexible than compartmentalized ones, but you still need visual and functional separation between different activities. The design challenge is creating distinction without heavy walls.
Half-walls and partial barriers define zones while maintaining sightlines. A 3 to 4-foot wall separates a media area from a play space while keeping the whole basement visually connected. Structural columns can become design anchors, framed with millwork or painted as accent features.
Area rugs create psychological boundaries that cost nothing structurally. A rug under the desk anchors a work zone. Another rug frames the sitting area. These soft divisions signal purpose without closing anything off.
Lighting design reinforces zoning. Recessed lights over the entertainment area, task lighting at a desk, and ambient lighting in a gathering zone each create distinct atmospheres within one open space. We’ll cover lighting in detail in a later section, but its role in zone definition is essential.
Finish transitions work similarly. Carpet in a media area, luxury vinyl in a workout zone, and polished concrete near the bar area create tactile and visual shifts that tell your brain you’re in a different space, even though you’re on the same floor.
What to do next: Take photos of your basement and sketch where different zones would naturally cluster based on window placement, utilities, and your daily routines.
Lighting and Moisture Control in Finished Basements
Lighting and moisture control are the two technical foundations of a comfortable basement. Get these right, and everything else works beautifully. Neglect them, and even gorgeous finishes feel compromised.
Natural light through windows and glass doors should be maximized, but most basements require substantial artificial lighting. Recessed LED lights in a grid pattern provide even illumination without eating headroom. Accent lighting around built-ins or architectural features adds warmth and visual interest. Wall sconces near seating areas create comfortable zones for reading or conversation.
Dimmers on all circuits give you flexibility to adjust mood and energy consumption. A media room calls for lower light levels; a home office needs brighter, more focused illumination.
Moisture management starts before construction. Your basement must be dry through proper grading, gutter systems, and sump pump functionality. From there, a vapor barrier under flooring, proper insulation with moisture-resistant materials, and vented HVAC systems keep humidity in check. Dehumidifiers run as backup during humid seasons, keeping relative humidity below 55 percent.
We use moisture-resistant drywall in bathrooms and mechanical areas where splashing could occur. Standard drywall elsewhere works fine if moisture control systems are in place upstream. Avoid carpet directly on concrete; always use a moisture barrier and subfloor system underneath.
What to do next: Schedule a moisture assessment before any design work. A damp basement that floods once every ten years cannot be safely finished without addressing that root cause.
Selecting Materials and Finishes for Durability and Style
Your basement’s materials need to withstand moisture exposure and frequent use while expressing your aesthetic preferences.
For flooring, polished concrete offers industrial charm and minimal maintenance. Luxury vinyl plank (LVP) delivers wood-like appearance with water resistance. Engineered hardwood works in drier basements with proper underlayment. Carpet in media and exercise zones needs moisture barriers and quality padding underneath.
Wall finishes matter too. Standard drywall with moisture-resistant drywall in wet areas works well. Shiplap, wainscoting, or paneling add character and visual interest. Paint colors matter: lighter shades make basements feel larger and brighter.
Cabinetry and built-ins should use quality materials that resist moisture and warping. Maple, birch, and quality plywood hold up better than solid pine in basement conditions. Stain and polyurethane finishes provide more durability than lacquer.
Ceilings offer design opportunity. Drywall ceilings look finished but conceal mechanicals less efficiently. Drop ceiling systems allow easy access to HVAC, plumbing, and electrical runs while offering acoustic benefits. Exposed ceilings with painted beams or decorative details suit industrial or modern aesthetics.
Ensure all materials are rated for basement use. Manufacturers specify where products perform well; respect those guidelines to avoid costly failures.
What to do next: Gather samples of flooring, wall finishes, and cabinet materials from suppliers who understand basement applications. Live with photos for a week before deciding.
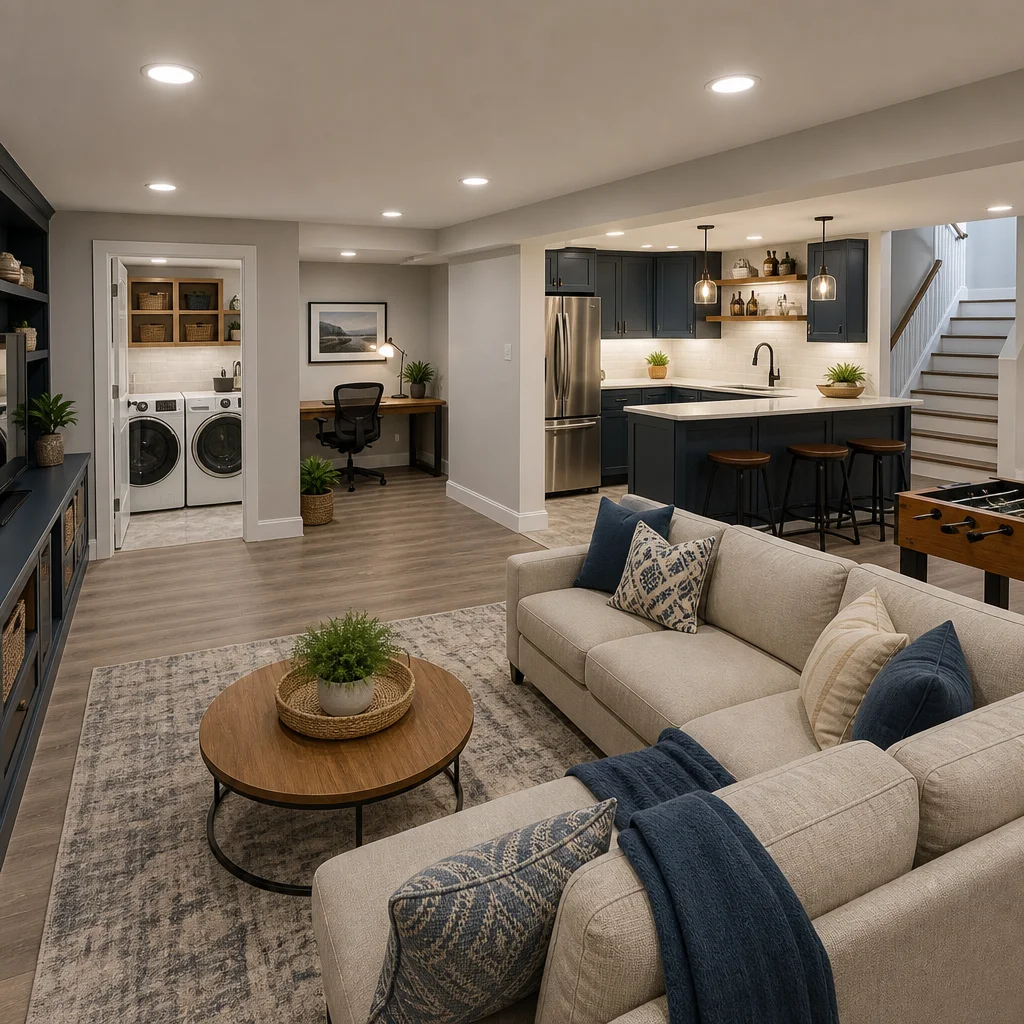
Incorporating Mechanical Systems and Building Code Compliance
A finished basement requires updated mechanical systems and strict code compliance, both essential for safety and long-term performance.
HVAC extension brings conditioned air to basement areas, preventing cold, damp spots. You may need additional supply and return ducts, and the ductwork must be sized correctly for the added square footage. An HVAC contractor evaluates your existing system’s capacity early in planning.
Electrical needs expansion. Basement workshops, home offices, and media rooms demand multiple dedicated circuits, proper grounding, and GFCI protection in wet areas. Code requires GFCI outlets within 6 feet of any water source and wherever moisture is likely. We plan for generous outlet placement rather than daisy-chaining power strips.
Plumbing for a basement bathroom or wet bar requires venting and clean drainage slopes. Rough plumbing happens before drywall, so coordinating with electricians and HVAC trades prevents expensive rework.
Building codes mandate egress windows for any bedroom below grade. These must be operable from inside, large enough for safe exit, and at a maximum depth below grade (typically 44 inches measured from the sill). Egress wells protect windows and provide clearance for emergency exit.
We handle all permit coordination, inspections, and code compliance as part of our design-build approach. Inspectors check rough-ins before finishes cover them, and final inspections confirm everything meets current code. This protects your investment and your family’s safety.
What to do next: Ask your builder whether your basement currently has egress windows if you’re planning bedrooms. Adding them after-the-fact costs significantly more than incorporating them during design.
Budget Planning and Cost Factors for Basement Projects
Basement finishing costs vary widely based on square footage, finishes, and complexity. Understanding the main cost drivers helps you make smart trade-offs.
Basic finishing (simple layout, standard finishes, minimal plumbing) runs 50 to 75 dollars per square foot. Mid-range projects (thoughtful design, quality materials, one bathroom) range from 75 to 150 dollars per square foot. High-end basements with premium finishes, multiple rooms, wet bars, or luxe bathrooms run 150 to 250 dollars or more per square foot.
Your 1,000-square-foot basement finishing might cost anywhere from 50,000 to 250,000 dollars depending on scope. That spread reflects real choices: carpet versus luxury vinyl, simple lighting versus sophisticated zoning, basic drywall versus custom millwork.
Cost-driving factors include egress windows and their wells, plumbing for bathrooms or kitchenettes, HVAC extension, structural modifications for ceiling height, and moisture remediation if needed. A basement without moisture issues and with existing egress windows costs less than one requiring window installation and waterproofing work.
Premium finish selections like high-end cabinetry, natural stone in bathrooms, or custom built-ins increase costs but add lasting value. Choosing durable materials pays dividends over a basement’s 20-plus year lifespan.
We provide detailed upfront contracts with transparent pricing so there are no surprises. We review budget allocation across different areas and help you prioritize where premium finishes matter most.
What to do next: Calculate your basement’s square footage and establish a realistic budget range based on your desired finish level. That framework shapes all subsequent decisions.
How Our Design-Build Process Ensures Your Vision Comes to Life
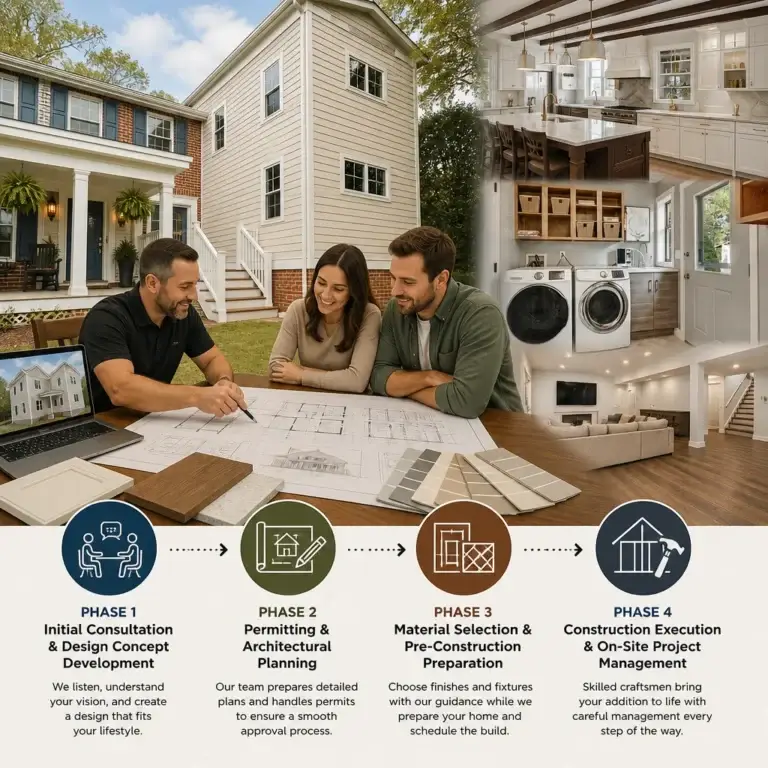
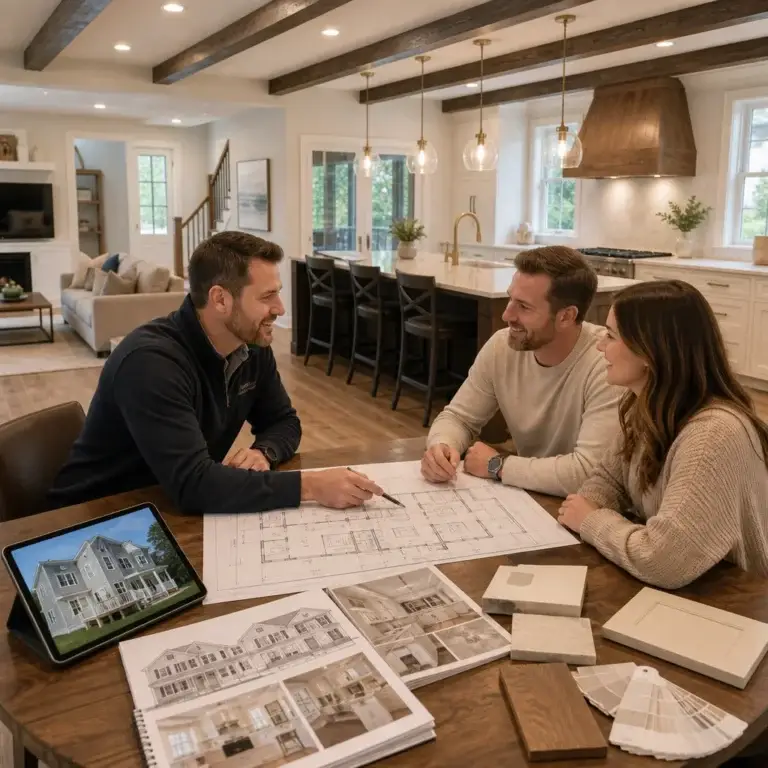
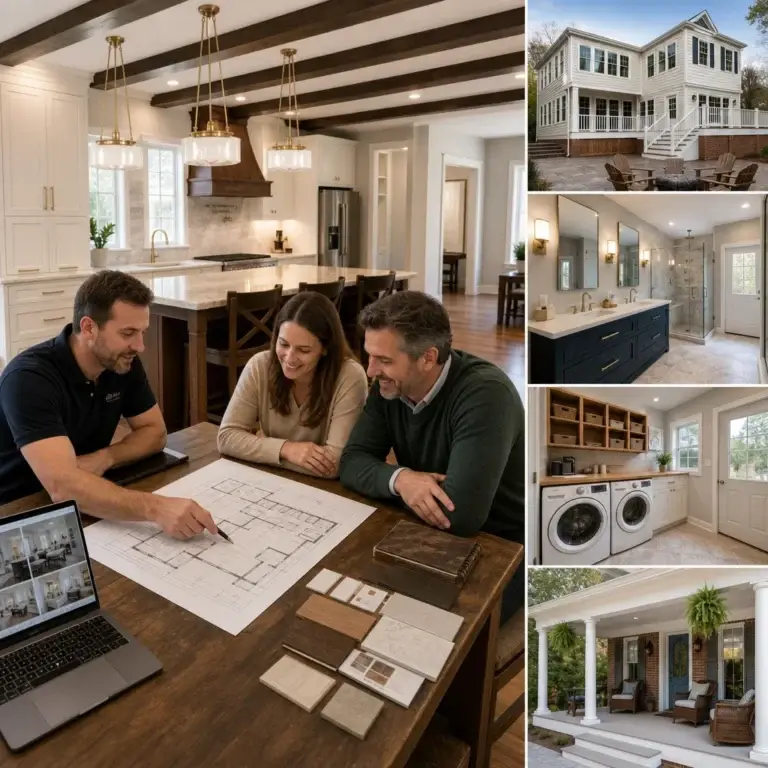
Our design-build process brings architectural expertise, construction knowledge, and project management under one roof. This integrated approach eliminates the disconnect between design and buildability that frustrates homeowners working with separate architects and contractors.
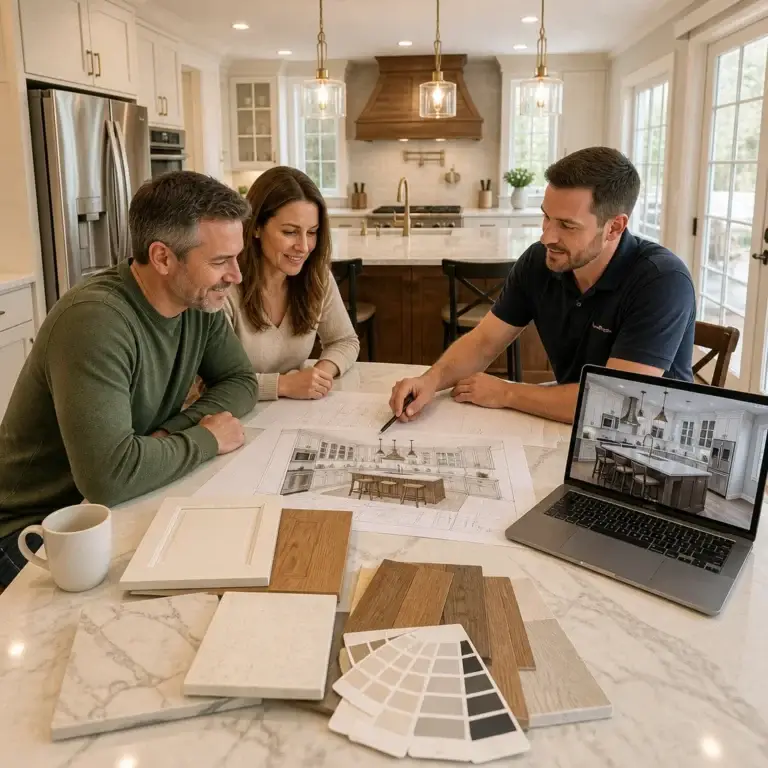
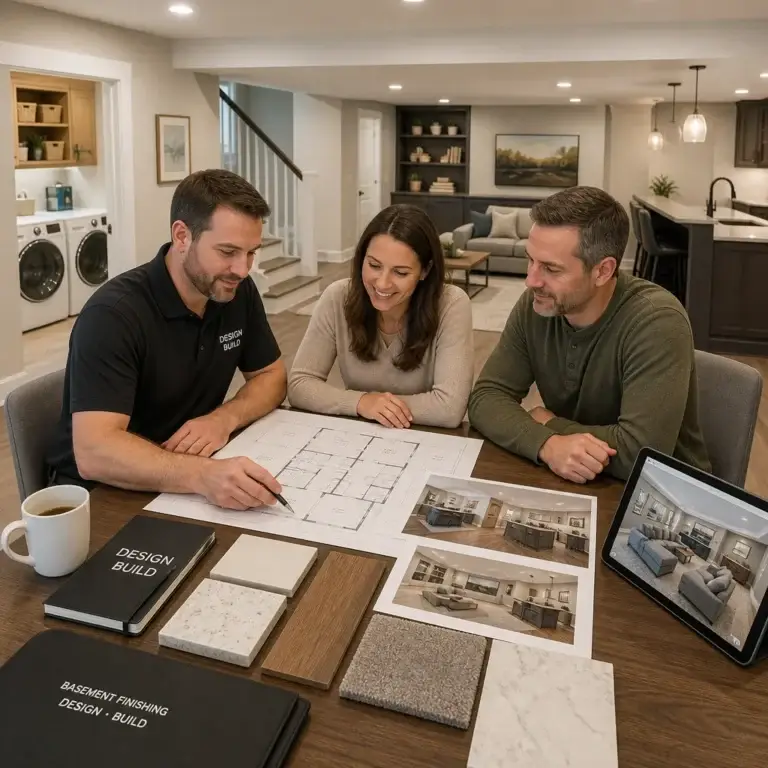
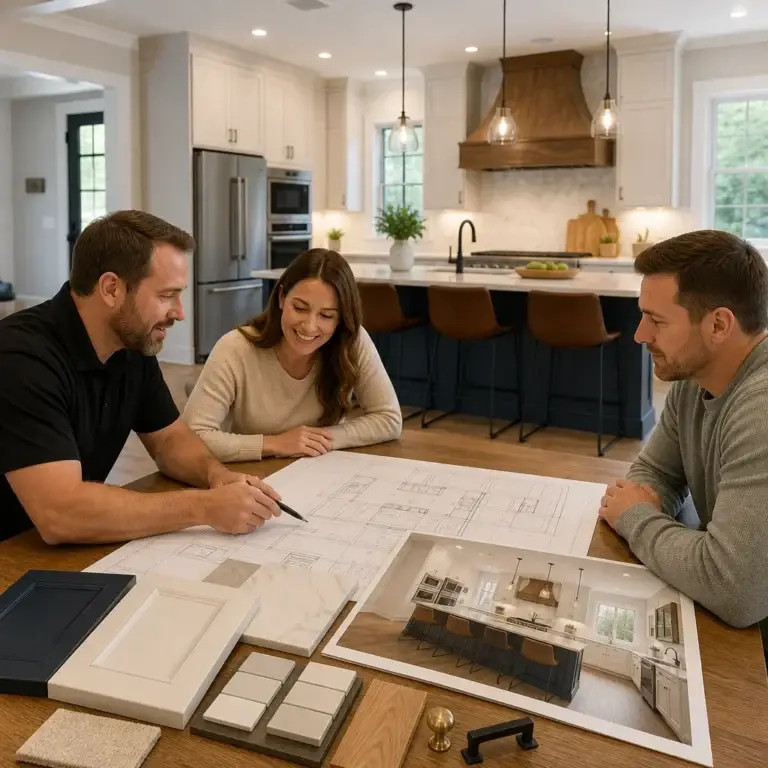
We start by understanding your vision, lifestyle, budget, and timeline. During design development, our architects sketch layouts, material options, and design details. Simultaneously, our construction team reviews those plans for feasibility and cost implications. Any conflicts surface early, when changes are inexpensive.
You see 3D renderings of your finished basement before a single nail is driven. That clarity prevents costly mid-project changes. Material selections happen with your input; you choose finishes, colors, and fixture styles that reflect your aesthetic.
Once design is locked, we manage all permits, inspections, and coordination. Our team handles the logistics so you don’t have to chase down inspectors or coordinate between trades. Regular communication keeps you informed of progress and any decisions needed.
Construction quality reflects our commitment. We use skilled trades and quality materials, and every phase is inspected before moving to the next. Your satisfaction is the goal; we stand behind our work with professional warranties.
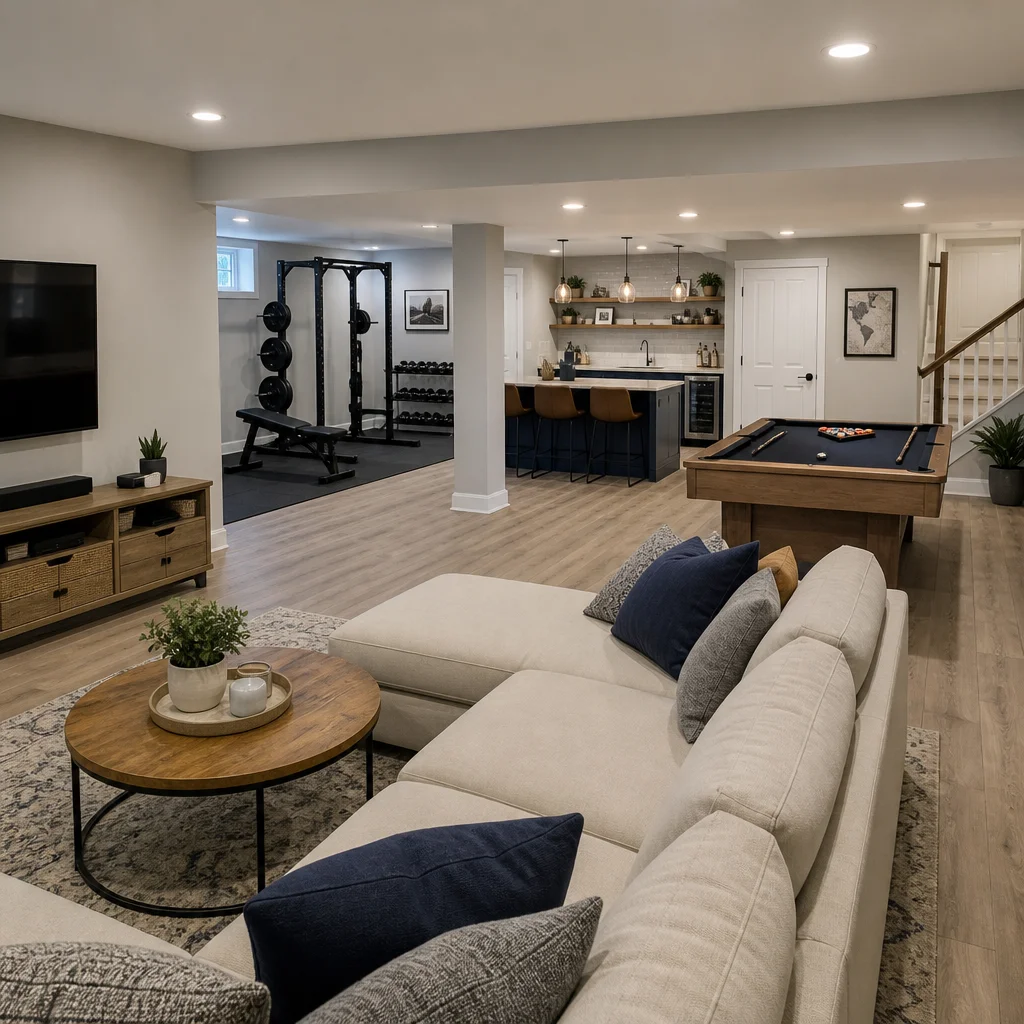
What to do next: Schedule a consultation to discuss your basement vision. We’ll walk your space, ask clarifying questions, and explain how our process would serve your project.
Timeline and Project Management for Basement Finishing
Basement finishing timelines depend on scope, but a typical 1,000 to 1,500-square-foot project takes 8 to 12 weeks from permit to completion.
Initial design and permit phase takes 2 to 4 weeks. We prepare detailed plans, file permits, and schedule inspections. Any moisture remediation or structural prep happens first if needed.
Rough-in phase (3 to 4 weeks) includes framing, electrical rough-in, plumbing rough-in, and HVAC ductwork, plus vapor barriers and insulation. Inspectors verify rough work before finishes cover it.
Finish phase (3 to 5 weeks) brings drywall, flooring, cabinetry, painting, and fixture installation. This phase is most visible; you’ll see your vision materializing.
Final inspections and punch-list work wrap up the project. We schedule inspectors, address any findings, and complete final details. Once finished, your basement is ready to enjoy.
Project management keeps timelines realistic. Weather, permit delays, and material availability occasionally require adjustments, which we communicate transparently. Our team works efficiently without cutting corners, balancing speed with quality.
What to do next: Ask your contractor for a detailed timeline showing each phase and key milestones. That roadmap sets expectations and helps you plan around any disruption.
Transforming Your Annandale Home with a Finished Basement
A finished basement transforms how your family lives in your Annandale home. Instead of climbing stairs when you need that extra space, it’s there, ready and integrated into your daily routine. Guest visits become easier with a dedicated bedroom. Kids have room to play. Remote work gains a quiet, professional office. Entertaining expands beyond your main floor.
We’ve guided countless Northern Virginia families through basement finishing projects. The process requires thoughtful planning, quality craftsmanship, and clear communication, but the payoff is remarkable. You gain usable square footage, home value, and flexibility without leaving your community.
If a finished basement makes sense for your home, start by assessing your current space. Walk the basement with a critical eye. Consider moisture, ceiling height, window placement, and your actual use case. Then reach out. We’ll evaluate your specific situation, explain your options, and outline how we’d approach your project.
Basement finishing is an investment in your home and your quality of life. Done well, it pays dividends for years to come. We’re here to guide you through every decision and deliver a finished product you’ll love.
Contact us Today For a Free Estimate !
Frequently Asked Questions (FAQ)
What makes your design-build approach different for basement finishing projects?
We combine architectural design, permit coordination, and construction into one integrated team, which means you work with us from initial planning through final completion rather than juggling multiple contractors. Our process eliminates the back-and-forth communication gaps that typically slow down basement projects, and we handle all code compliance and building permits upfront so you don’t have to worry about compliance issues later.
How long does a typical basement finishing project take?
The timeline depends on your basement’s size and complexity, but we typically complete finished basement projects within 8 to 12 weeks once permits are approved. We provide you with a detailed project schedule at the start so you know exactly when each phase will occur, and our project management keeps us on track to deliver on time and on budget.
Do you handle moisture control and waterproofing as part of basement finishing?
Yes, moisture management is built into our design from the beginning because we know it’s critical to a finished basement’s longevity. We assess your specific drainage situation, recommend appropriate waterproofing solutions, and incorporate moisture barriers and ventilation into our construction plan so your finished space stays dry and comfortable for years to come.