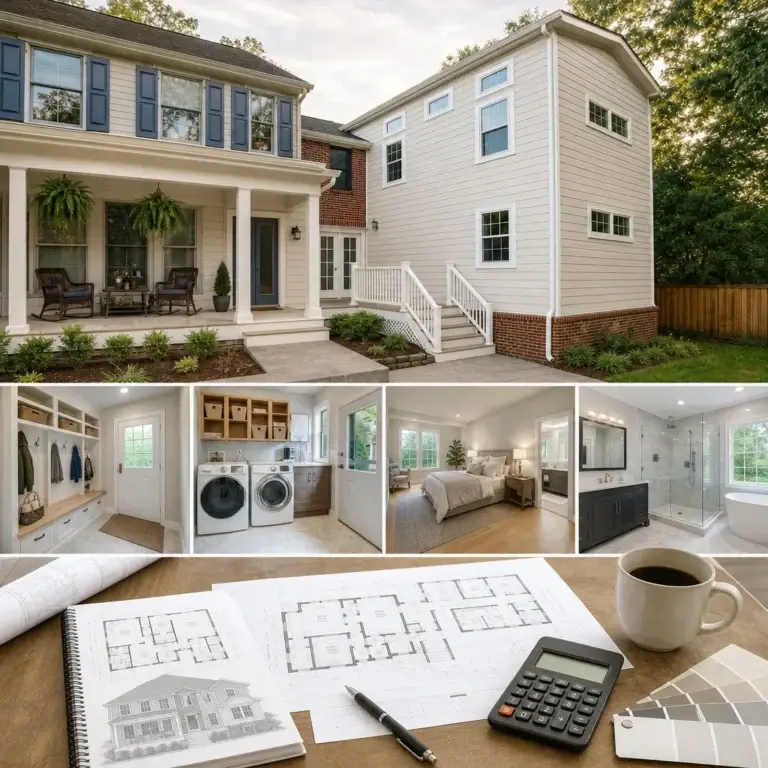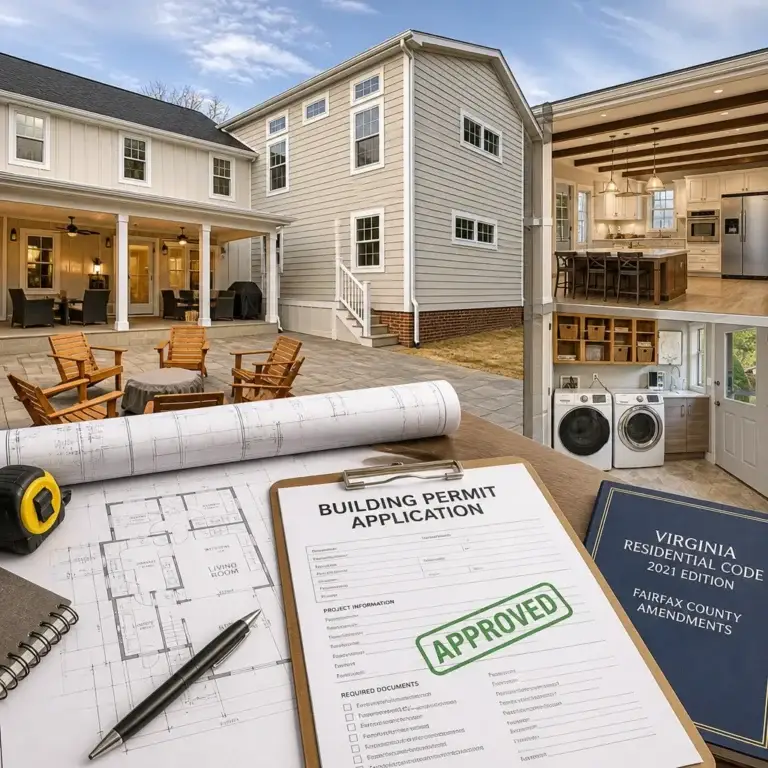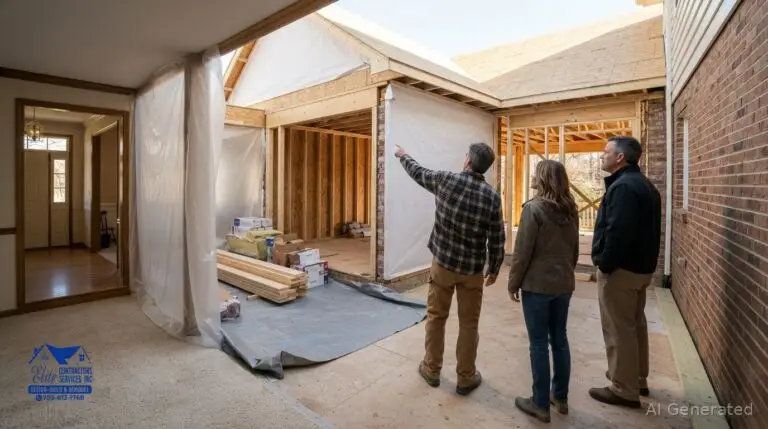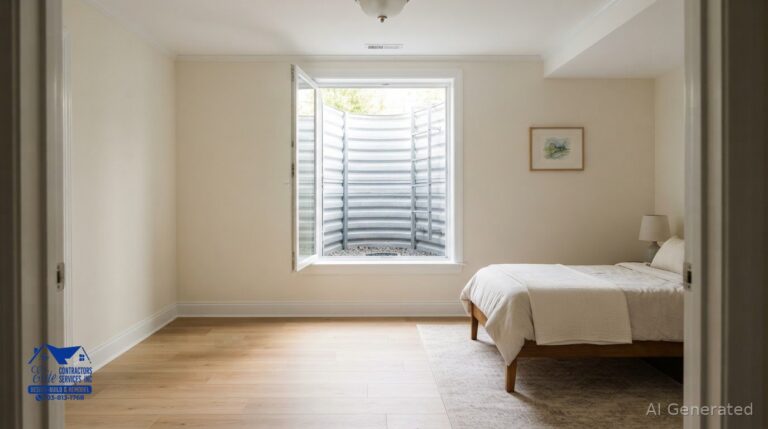
The final walkthrough is more than a last look; it’s your chance to turn unfinished work into a clear repair plan. A post construction walkthrough checklist should cover finishes, doors and windows, exterior work, and the home’s operating systems. If you find a problem, document its location with a photo and add it to an itemized punch list for your contractor.
It’s understandable to want a clear answer about what needs attention before you sign off. A methodical walkthrough helps you separate minor touch-ups from issues that need repair, and gives you a shared record to discuss with the contractor. Ask who will handle each item, when the work is expected to be completed, and whether you can review the repairs afterward.
This guide explains what to inspect, how to document concerns clearly, and how to discuss next steps with your contractor. An organized record helps everyone understand which items have been addressed and which still need attention.
Key Takeaways
- Inspect finishes, windows, and doors for visible flaws, poor fit, and gaps before sign-off.
- Walk the exterior to review drainage, landscaping, roof, siding, and remaining construction debris.
- Test electrical, plumbing, and HVAC systems so problems are identified while the contractor is still involved.
- Record each defect with its location and a photo, then share an itemized punch list and agree on repair steps.
- Walk through the completed repairs with the general contractor or project manager to confirm the listed issues have been addressed.
Final inspection of finishes, windows, and doors
Begin after post-construction cleaning, when dust no longer hides marks or gaps. Inspect each finished room in daylight, then check it again with the lights on. Look at seals, windows, doors, flooring, paint, cabinetry, and appliances for visible issues. Keep the contract and finish selections nearby to compare the installed materials and details with the agreed scope.
A walkthrough identifies unfinished work, damage, or defects and records them for follow-up. A final inspection is a broader review of the completed work before sign-off. The walkthrough can identify concerns to discuss, while the final review helps establish whether the work is complete and ready for acceptance.
- Inspect painted walls and trim. View each surface from several angles, noting missed spots, drips, uneven coverage, and scuffs beside switches or door casings.
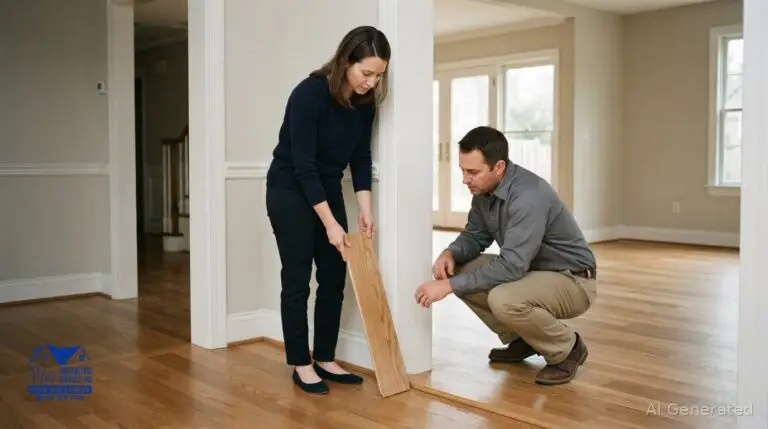
- Review flooring across room transitions. Look for scratches, chipped edges, loose boards, uneven seams, or abrupt height changes between flooring materials.
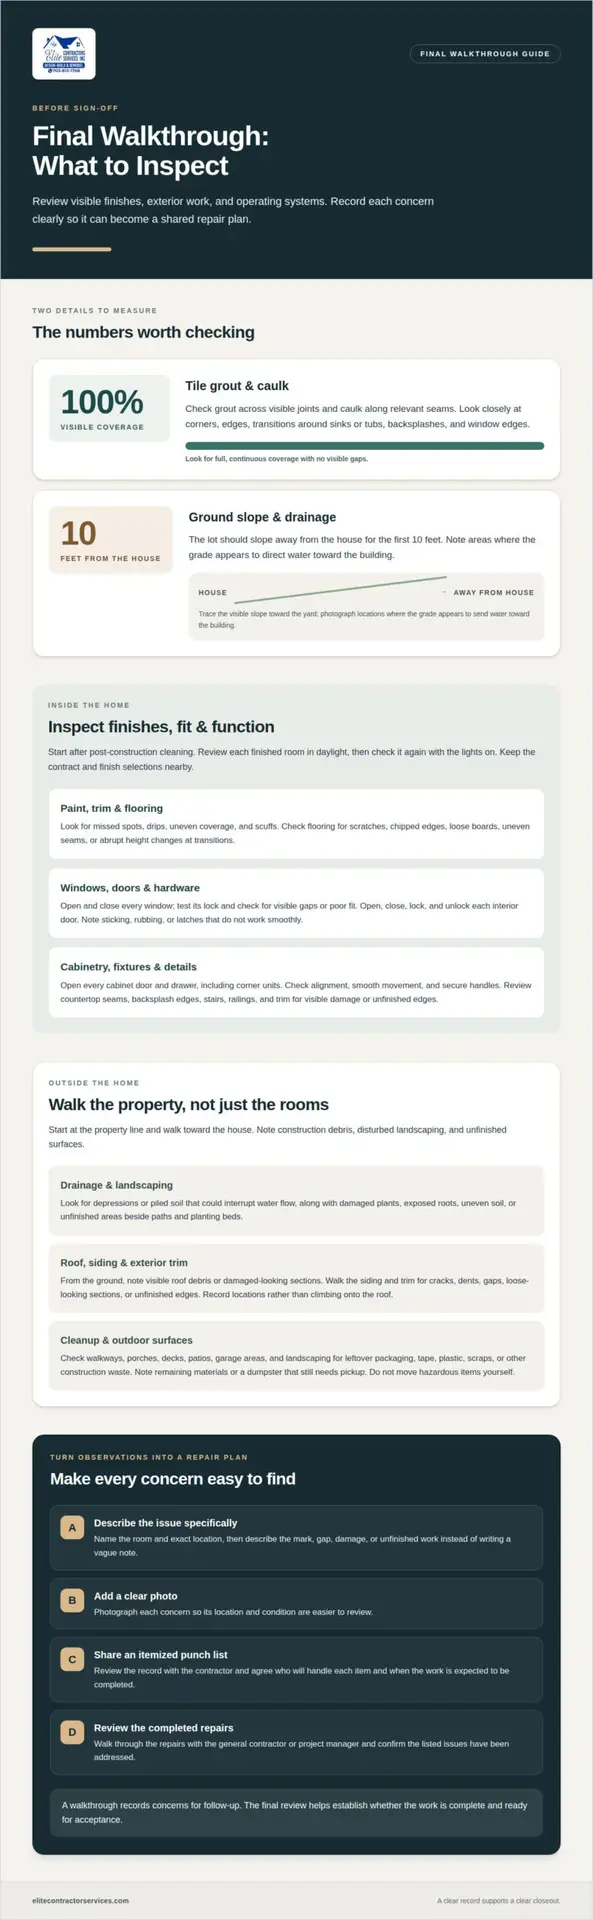
- Check tile and grout coverage. Confirm grout coverage is 100% across visible joints, including corners, edges, and transitions around sinks or tubs.
- Review caulk coverage. Confirm caulk coverage is 100% along relevant seams, such as countertop backsplashes, tubs, and window edges, with no visible gaps.
- Open and close every window. Test each sash, then lock and unlock it; check the closed window for visible gaps or poor fit.
- Test interior doors and hardware. Open, close, lock, and unlock each door, checking that it moves smoothly and latches without rubbing the frame.
Continue with built-in cabinetry and fixtures. Open every cabinet door and drawer, including corner units, and check alignment, smooth movement, and secure handles. In a remodeled kitchen, inspect countertop seams, backsplash edges, and cabinet finishes as connected details. The kitchen design and remodeling work should be reviewed against the selected layout and finish details.
Inspect stairs, railings, and trim from top to bottom. Look for visible chips, loose components, exposed fasteners, or unfinished edges. Check windowsills and door casings where paint or caulk meets another surface. For example, record a paint ridge beside a casing separately from a window that will not latch. Specific entries make concerns easier to understand and address.
Record each concern as you find it. Note the room and exact location, such as “upstairs bedroom, left window,” and add a clear photo. Instead of writing “bad paint,” describe the mark, edge, or finish that needs attention. A room-by-room record makes it easier to review each observation and agree on next steps.
Exterior landscaping, drainage, roof, and siding
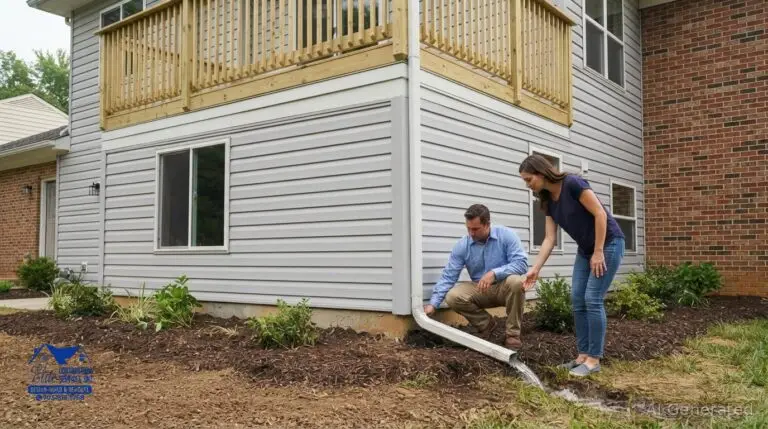
Start at the property line and walk toward the house, noting construction debris, disturbed landscaping, and unfinished surfaces. Look at the ground around the foundation: the lot should slope away from the house for the first 10 feet. Record areas where the grade appears to direct water toward the building, and show their locations in photos. This observation helps the contractor review drainage concerns before sign-off.
- Review drainage paths. Trace the visible slope from the house toward the yard, and note depressions or piled soil that could interrupt the intended flow of water.
- Inspect landscaping. Look for damaged plants, exposed roots, uneven soil, or areas left unfinished beside paths and planting beds. Compare each area with the agreed project scope.
- Scan the roof from the ground. Look for visible debris, damaged-looking sections, or materials that appear out of place. Record the location rather than climbing onto the roof.
- Walk the siding and exterior trim. Note visible cracks, dents, gaps, loose-looking sections, or unfinished edges around corners and openings.
- Check exterior doors and garage areas. Look over the garage door, its visible hardware, and surrounding trim. Clear access paths help reveal damage or debris that might otherwise go unnoticed.
- Review outdoor surfaces. Check walkways, porches, decks, and patios for leftover material, visible damage, or cleanup that remains incomplete.
Then review the site for construction waste. Look for packaging, tape, plastic, scraps, and other signs of work around the house, garage, and landscaping. Note any remaining dumpster or materials that still need pickup. Separate each observation by location, such as “back patio, beside the sliding door,” so the contractor can identify the exact area.
Exterior cleanup means checking more than large debris. Walkways and surfaces should be cleared and swept, and porches, decks, and patios should be free of loose construction waste. Check the garage door and mailbox for dust or residue, and look for discarded materials near the driveway. If furniture, appliances, scrap metal, or hazardous materials remain, record what is there and where. Do not move hazardous items yourself.
For each issue, take a clear photo and add a short written note. Distinguish between a visible defect, such as damaged siding, and incomplete cleanup, such as leftover plastic near a planting bed. Share the itemized notes with the contractor and agree on which items need attention. If exterior observations raise questions about the scope or sequence of remaining work, coordinate the remaining project details before final sign-off.
Mechanical, electrical, plumbing, and HVAC systems
Test systems affected by the remodel before accepting the work. Operate switches, outlets, plumbing fixtures, and heating or cooling controls in project areas. Check accessible attic and basement spaces where new equipment, wiring, ducts, or pipes were installed. These areas may reveal issues that are harder to spot from a finished room, such as an obstructed vent or visible pipe leak.
- Test outlets and switches in remodeled rooms. Confirm outlets provide power and switches operate their intended lights, because a misplaced connection can leave a fixture unusable.
- Operate each new or affected lighting fixture. Switch it on and off, and note flickering, failure, or a control that activates the wrong light.
- Review the electrical panel and breaker labels. Check that the panel functions and labels clearly identify the circuits, so the correct breaker can be found later.
- Test GFCI outlets in areas exposed to water. Confirm each tested outlet responds to its test controls, because these outlets are part of the electrical checks for wet areas.
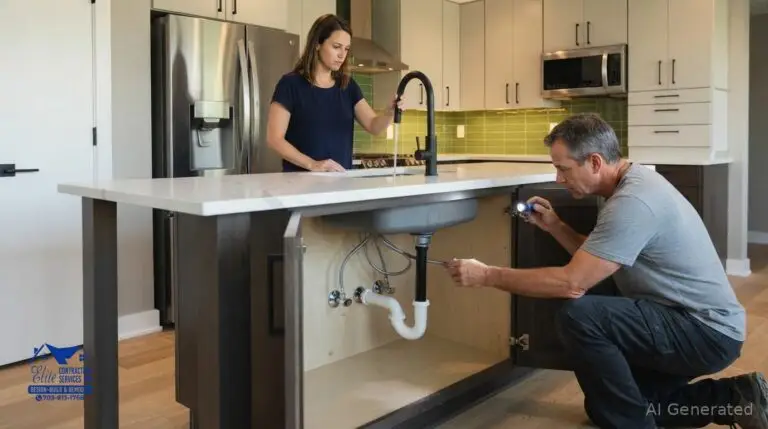
- Run water at remodeled sinks and fixtures. Look beneath accessible sinks and along visible pipes for leaks, and note any water damage, mildew, or mold.
- Check water pressure at each affected fixture. Run taps and showers individually, noting weak or inconsistent flow that may point to a plumbing issue needing review.
- Test both heating and cooling modes. Set the system to each mode and confirm it operates, since one working mode does not establish that the other works.
- Check registers in every remodeled room. Compare the air coming from each register during heating and cooling, and note rooms where airflow seems absent or unusually weak.
- Inspect accessible vents and ducts. Confirm they are unobstructed and operational, because blocked airflow can affect the comfort of the rooms they serve.
- Review accessible attic and basement equipment. Check whether visible ducts, vents, pipes, and electrical components appear connected to the remodeled areas and record anything visibly damaged or displaced.
Keep the tests organized by room and system. For example, write “basement, west wall outlet” rather than “outlet issue,” and identify whether a note concerns power, lighting, plumbing, or airflow. This gives the contractor a specific starting point for troubleshooting. Record the control setting and what happened, such as “cooling selected, no airflow at bedroom register.” Avoid opening electrical panels or dismantling equipment; document the symptom for the contractor to assess.
Before sign-off, review each recorded issue with the contractor and clarify which system needs follow-up. A simple room-by-room record keeps electrical, plumbing, and HVAC items distinct, making it easier to track the response and confirm that the affected system operates as intended.
Documenting and resolving construction defects
Create a dated entry for each concern, including the room, exact location, description, and a photo or video. Keeping everything in one record makes it easier to discuss next steps, track responses, and identify any unresolved items.
The timing for addressing concerns depends on the work and the agreed plan. Discuss the next steps for each item with the project manager and keep a record of the agreed plan alongside your observations.
To review workmanship and finishes, compare completed areas with the contract and agreed selections. Inspect surfaces in good light, operate doors and fixtures, and note visible damage, incomplete work, or systems that do not operate as expected. Describe each concern precisely, such as “loose cabinet handle beside the kitchen sink,” rather than “cabinet problem.”
- Log one issue per entry. Separate unrelated defects so each repair has a clear location and outcome.
- Attach supporting evidence. Take a photo or video that shows the defect and enough surrounding detail to identify it.
- Record communications. Save service requests, builder responses, promised repair dates, and completion notes beside the relevant entry.
- Submit concerns in writing. Use the builder’s designated warranty portal or email before each deadline, then save confirmation that the concerns were received.
For new-construction homes, most builders ask homeowners to submit a repair list within 30 to 90 days after move-in. Some also request another list during the 11th month, usually before the builder’s warranty expires. An independent inspection around month 10 can leave time to report defects and verify repairs before a one-year builder warranty expires. Ask how to report issues discovered after move-in, and keep the instructions with your records.
Serious issues found during the final walkthrough may affect closing. Keep the project manager’s responses and the status of each concern up to date, especially when an unresolved item affects use of the property or the agreed work. Once a repair is reported complete, arrange a follow-up walkthrough where possible and compare it with the original record. Note the review date and any remaining concern.
At handover, organize the project contract, quotes, receipts, and communications with equipment warranties, manuals, and maintenance guides. Collect the keys and access devices provided for the home, and note which equipment or areas they operate. Store these materials together so warranty information and maintenance instructions are easy to find after move-in.
Primary walkthrough with the general contractor or project manager
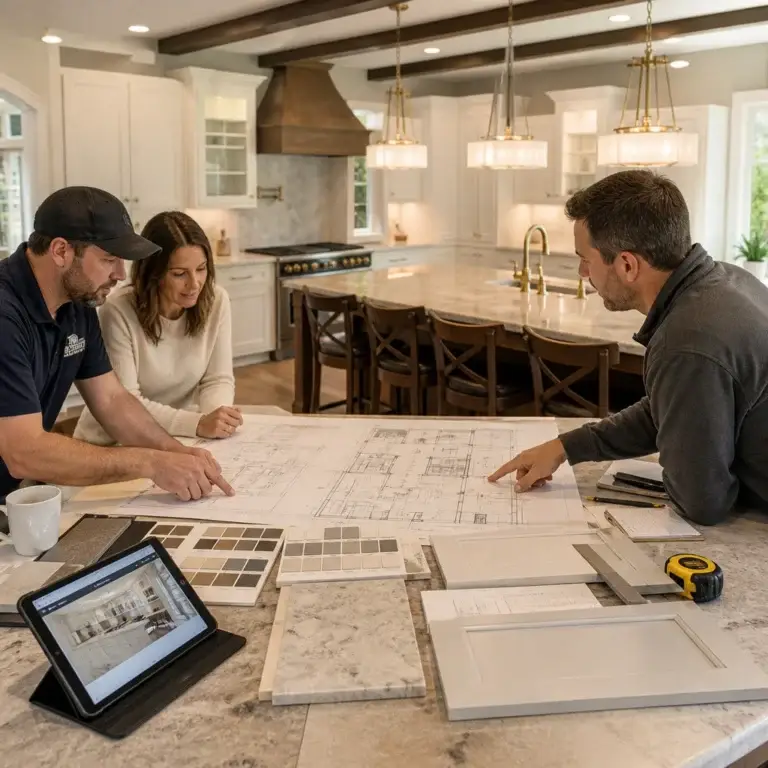
Walk through the home with the general contractor or project manager, using the contract and agreed specifications as your reference. Compare completed work with the documented scope, identify unfinished items, and agree on clear next steps. Move through the property together, room by room, so you can locate each concern and discuss it in context.
In the United States, the handover review should address applicable building-code and zoning requirements, structural integrity, and safety. A qualified construction inspector can also review HVAC, plumbing, and electrical components. Occupancy requirements vary by project and jurisdiction, so ask the project manager to identify any occupancy approval connected with the work and record its status.
- Bring the contract and change records. Compare each completed area with the written scope, such as the specified cabinet layout or remodeled room boundaries, to spot differences.
- Ask who owns each open item. Assign every punch-list entry to a responsible person, so the repair path is clear instead of assumed.
- Record the repair plan beside each defect. Note the agreed action and expected completion timing, which keeps the contractor and homeowner aligned.
- Clarify what will be completed after move-in. Identify any remaining work and how it will be tracked, so unfinished items don’t disappear from the closeout conversation.
- Ask how many walkthroughs are scheduled. Knowing whether another review is planned helps set expectations for checking completed repairs.
- Review safety and access together. Check that emergency exits and routes are visible and clear, and note any safety item needing attention.
Use blue tape to mark minor issues where they appear, then add each one to a written punch list. Sticking blue tape on 30 or 40 minor issues during a new-construction walkthrough is often considered normal. The tape makes the location easy to see, while the written entry explains what needs attention. Keep the list specific: “scratched trim beside the upstairs landing” is more useful than “trim issue.”
Before ending the walkthrough, review each entry aloud with the project manager. Confirm that the location, requested correction, responsible person, and follow-up plan are understood. Ask whether a second walkthrough can cover completed repairs. A shared, itemized record turns observations into coordinated next steps rather than leaving either party to rely on memory.
For a remodeling project, plan a coordinated project walkthrough around the contract scope, visible work, and open repair items.
Elite Contractor Services: Accessory Living Unit (ALU) Construction
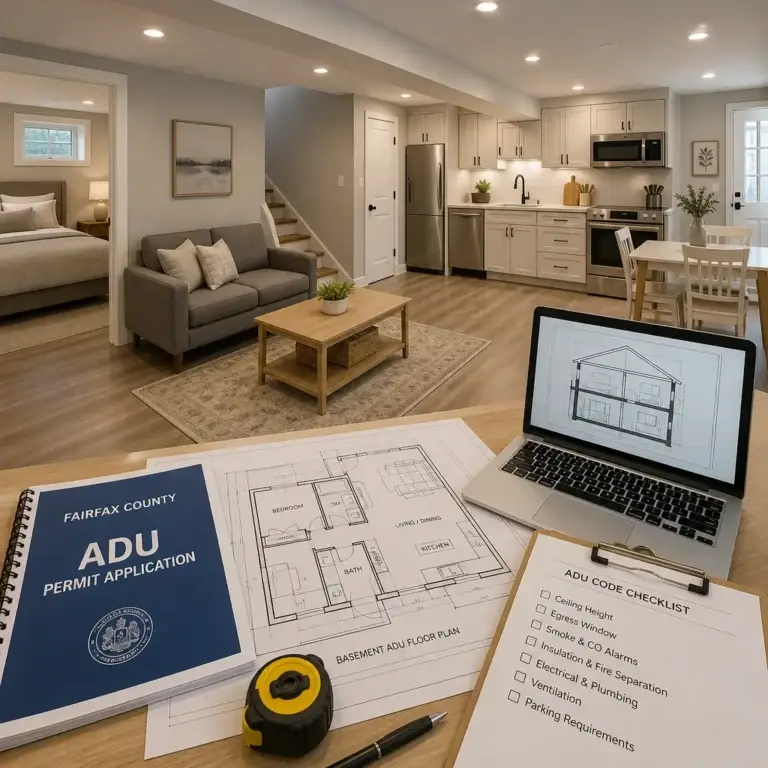
Elite Contractor Services can help homeowners planning an Accessory Living Unit (ALU) through its ALU Construction and Design-Build Services. Turn to the team when you’re considering a separate living space and need coordinated planning and construction for the project.
For a larger home update, Elite Contractor Services also provides whole-house remodeling and home additions. A clearly defined scope and an organized walkthrough help connect project decisions, completed work, and any remaining items from planning through handover.
Contact Elite Contractor Services to discuss your ALU or remodeling project.
Move Forward With a Clear Sign-Off
Make sign-off a deliberate decision, not simply the last item on the project calendar. Before closing the process, ensure the written record reflects the home’s current condition and distinguishes completed work from anything still being addressed. A post construction walkthrough checklist helps organize that record, while your decision should reflect the project documents and discussions with the contractor.
Keep handover materials organized for future reference. A clear record helps you understand what was completed and find relevant project information later. If you are planning another remodeling project, bring your priorities and questions to an early conversation to establish a clear starting point.
Contact Elite Contractor Services to discuss your next home project. Move ahead with clarity and confidence.
Frequently Asked Questions
What should you do if you find problems during the final walkthrough?
Pause sign-off on the affected item and add it to the written record. Separate cosmetic concerns from issues that affect a system or prevent normal use. Discuss who will address the repair and what follow-up review is appropriate. Serious issues found during a final walkthrough may affect closing, so discuss their implications for handover before agreeing on next steps.
When does it happen?
The final walkthrough takes place after the contracted work is substantially complete and the site is ready for review, before final sign-off or acceptance. Have the general contractor or project manager present so questions can be connected to the relevant room or system. If work continues after the visit, arrange a follow-up review when those tasks are complete.
What should a post-construction walkthrough checklist include?
Organize the checklist by room, with separate entries for visible finishes, doors and windows, exterior work, and affected building systems. Include the exact location, what you observed, supporting evidence, and the agreed next action. Add a status field to show whether an item is open, being addressed, or reviewed after follow-up. This format keeps observations connected to decisions.
How do you inspect walls, ceilings, floors, doors, and windows after construction?
Scan each wall and ceiling from different viewpoints, noting visible marks, uneven edges, or unfinished joints. Follow the floor across doorways and changes in materials, looking for damage or uneven transitions. Check that doors swing fully without catching, and look for visible gaps around closed windows. Record each observation by room and exact location so it can be found later.
What electrical, plumbing, HVAC, and safety systems should be tested during a final walkthrough?
Test affected outlets, switches, lights, panel labels, and GFCI outlets in areas exposed to water. Run taps and look for leaks in accessible plumbing. Operate heating and cooling, then check airflow at room registers. Review smoke detectors, extinguishers, and fire alarms for the appropriate type and number, and confirm they work. The National Fire Protection Association provides fire-safety codes and standards.
What tools should you bring to a post-construction walkthrough?
Bring a charged phone for photos, a flashlight for dim areas, and a notebook or digital note app to record locations and observations. A pen, the project scope, and finish selections help you compare visible work with agreed details. Painter’s tape can temporarily mark a minor concern, but pair each marker with a written note so its meaning is clear.
How do you document punch-list items with photos and descriptions?
Give each concern its own entry and identify the room, surface, and precise location. Take one photo close enough to show the issue and another that shows where it is in the room. Use a neutral description, such as “gap at the trim beside the hallway door,” then record the discussion and status. Keep dated updates together so the record is easy to follow.
Who is responsible for fixing defects found during the final walkthrough?
Review concerns about work within the agreed project scope with the project manager, using your walkthrough record to identify and track each one. Compare the concern with the contract and any written changes, then agree on the responsible person and next steps. If responsibility is unclear, document the question and its resolution in writing before closing the item.